
Deploy Your Contract
Deploying a contract involves uploading your compiled contract code and creating an instance of it on a blockchain. In Polkadot, these are two separate steps: first upload the code, then instantiate it as many times as needed.
- Pop
- cargo-contract
- Contracts UI
If not specified Pop CLI automatically launches a local node for you when deploying a contract.
pop build --release
pop up
For more deployment options, see the Pop CLI deployment guide.
To deploy your contract locally, you need a running blockchain node that supports ink! smart contracts. The recommended option is ink-node, a simple Polkadot blockchain configured with the pallet-revive for smart contracts (learn more).
After installing ink-node, you can start a local development chain by running:
ink-node
Note: ink-node uses the --dev flag by default. You may need to specify the --dev flag when running a different chain binary.

Once your node is running, deploy your contract:
cargo contract build --release
cargo contract instantiate --suri //Alice --args true
To deploy your contract locally, you need a running blockchain node that supports ink! smart contracts. The recommended option is ink-node, a simple Polkadot blockchain configured with the pallet-revive for smart contracts (learn more).
After installing ink-node, you can start a local development chain by running:
ink-node
Note: ink-node uses the --dev flag by default. You may need to specify the --dev flag when running a different chain binary.
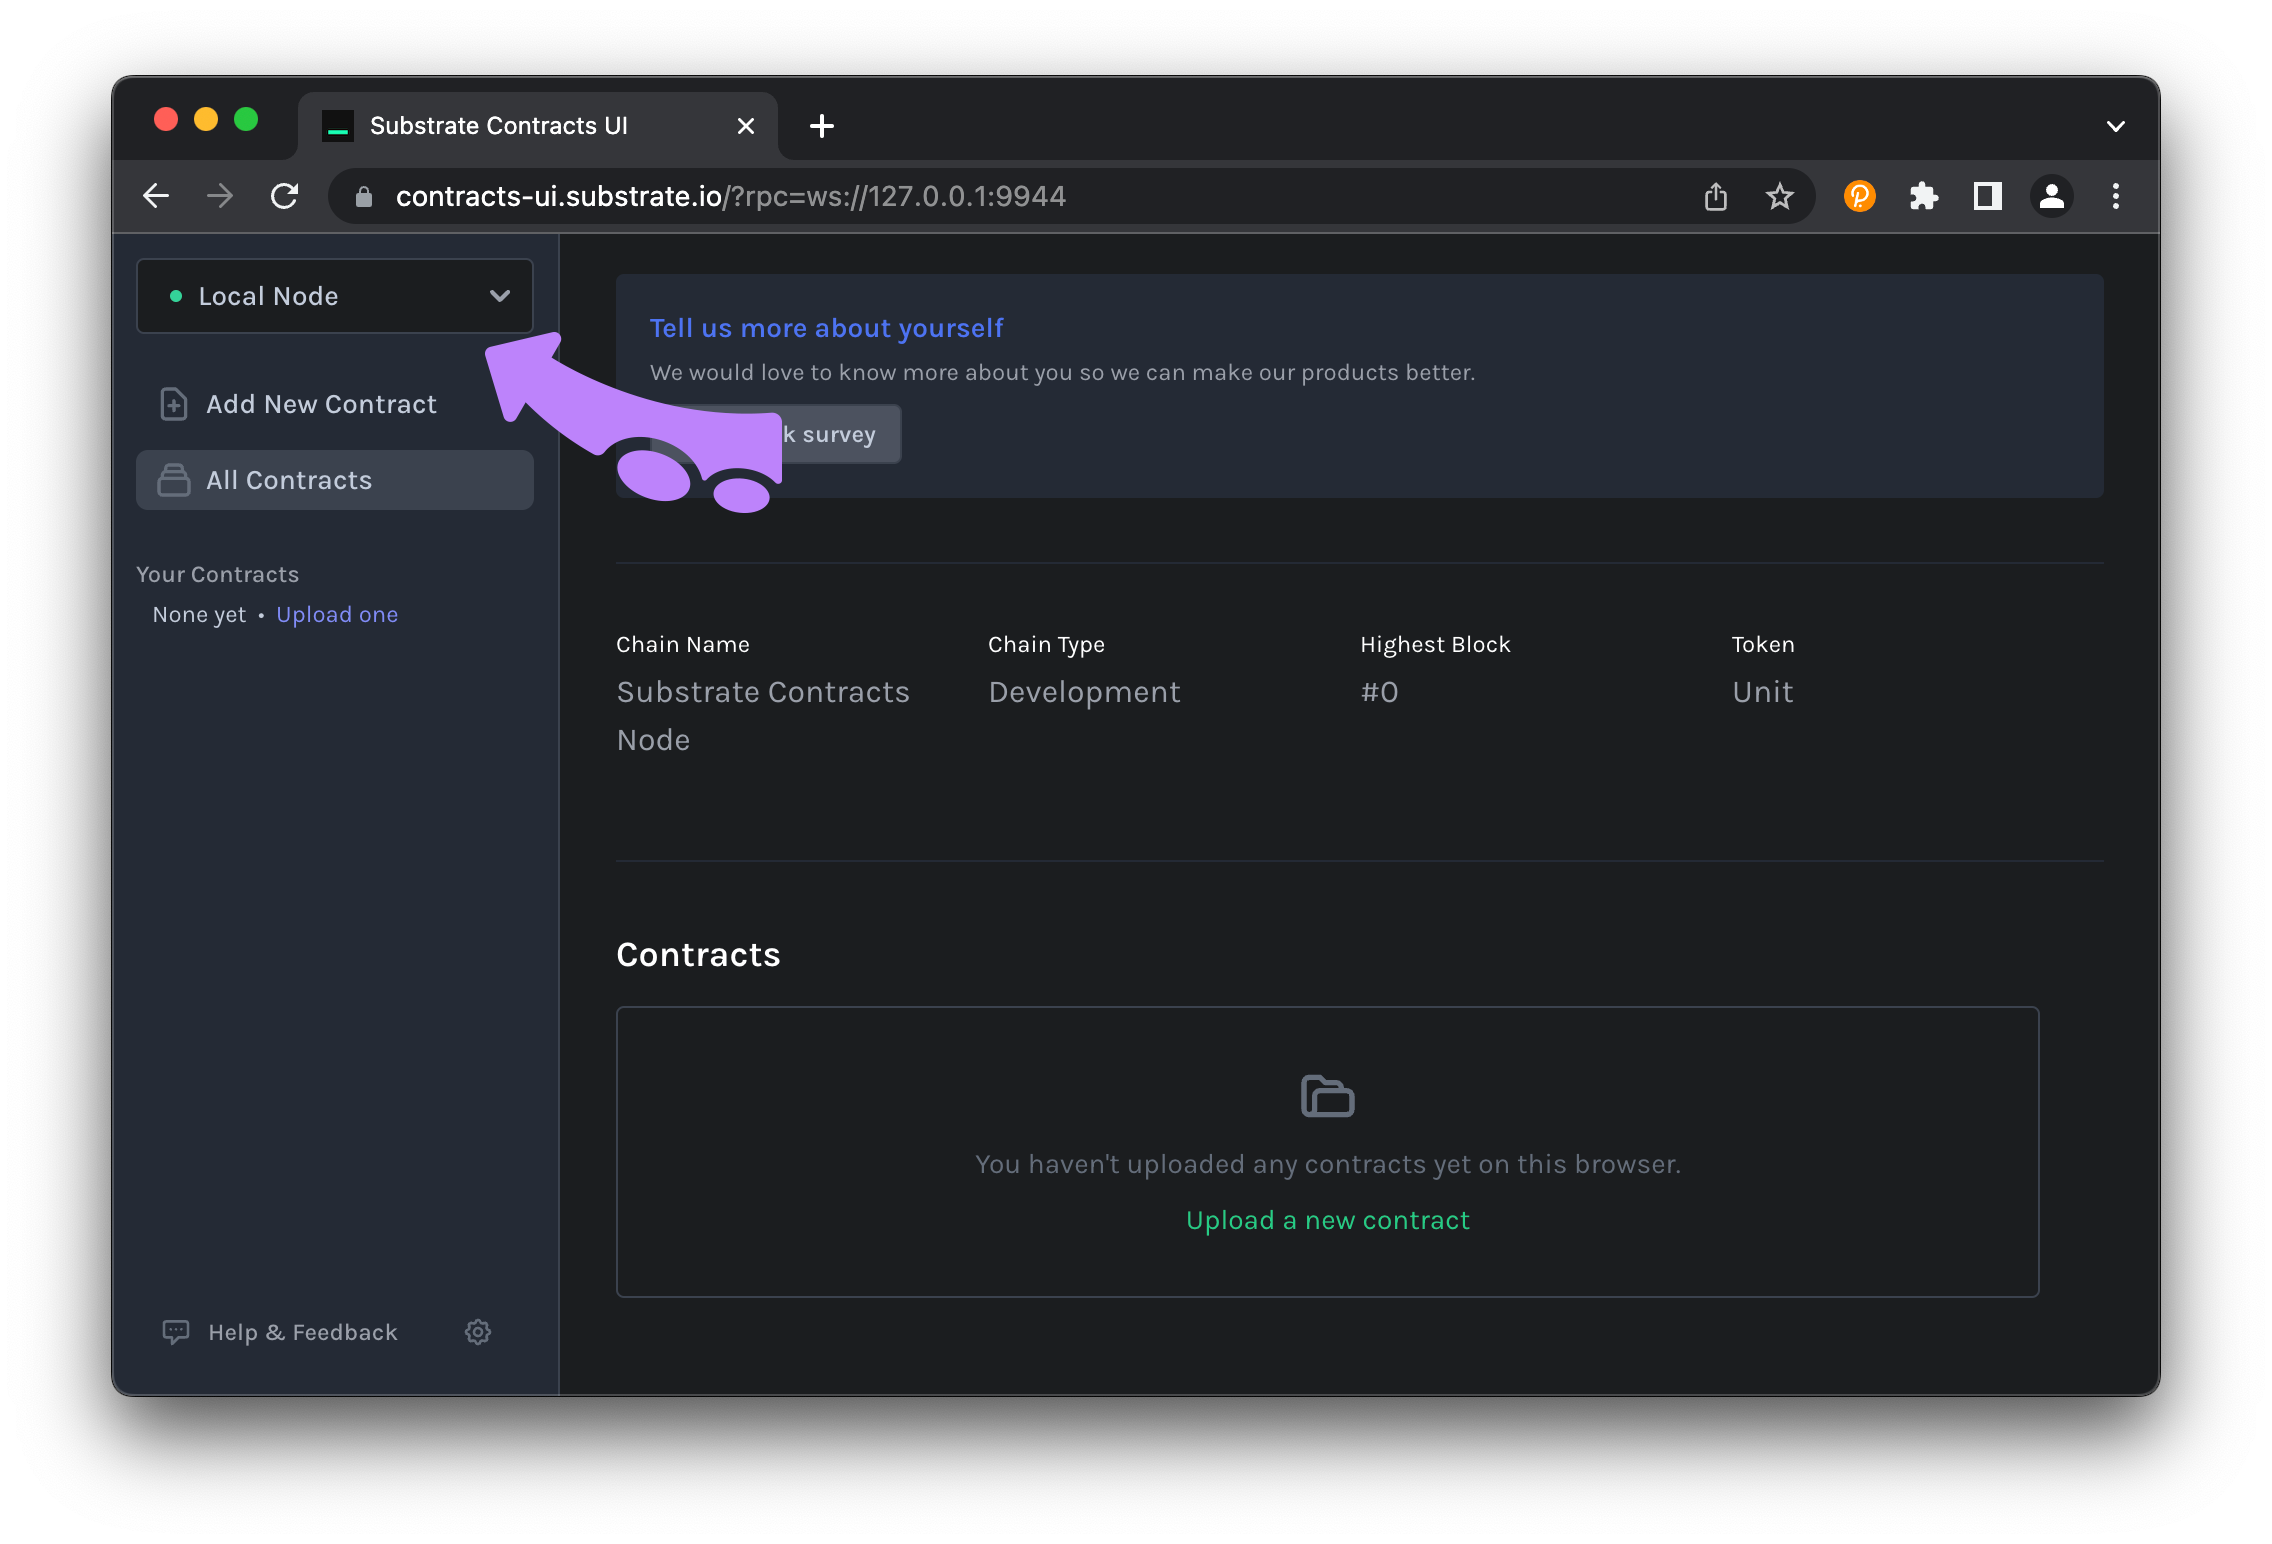
You can interact with your node using the Contracts UI. Configure it to connect to the locally running node:
- Click on the dropdown selector at the top left corner.
- Choose "Local Node".
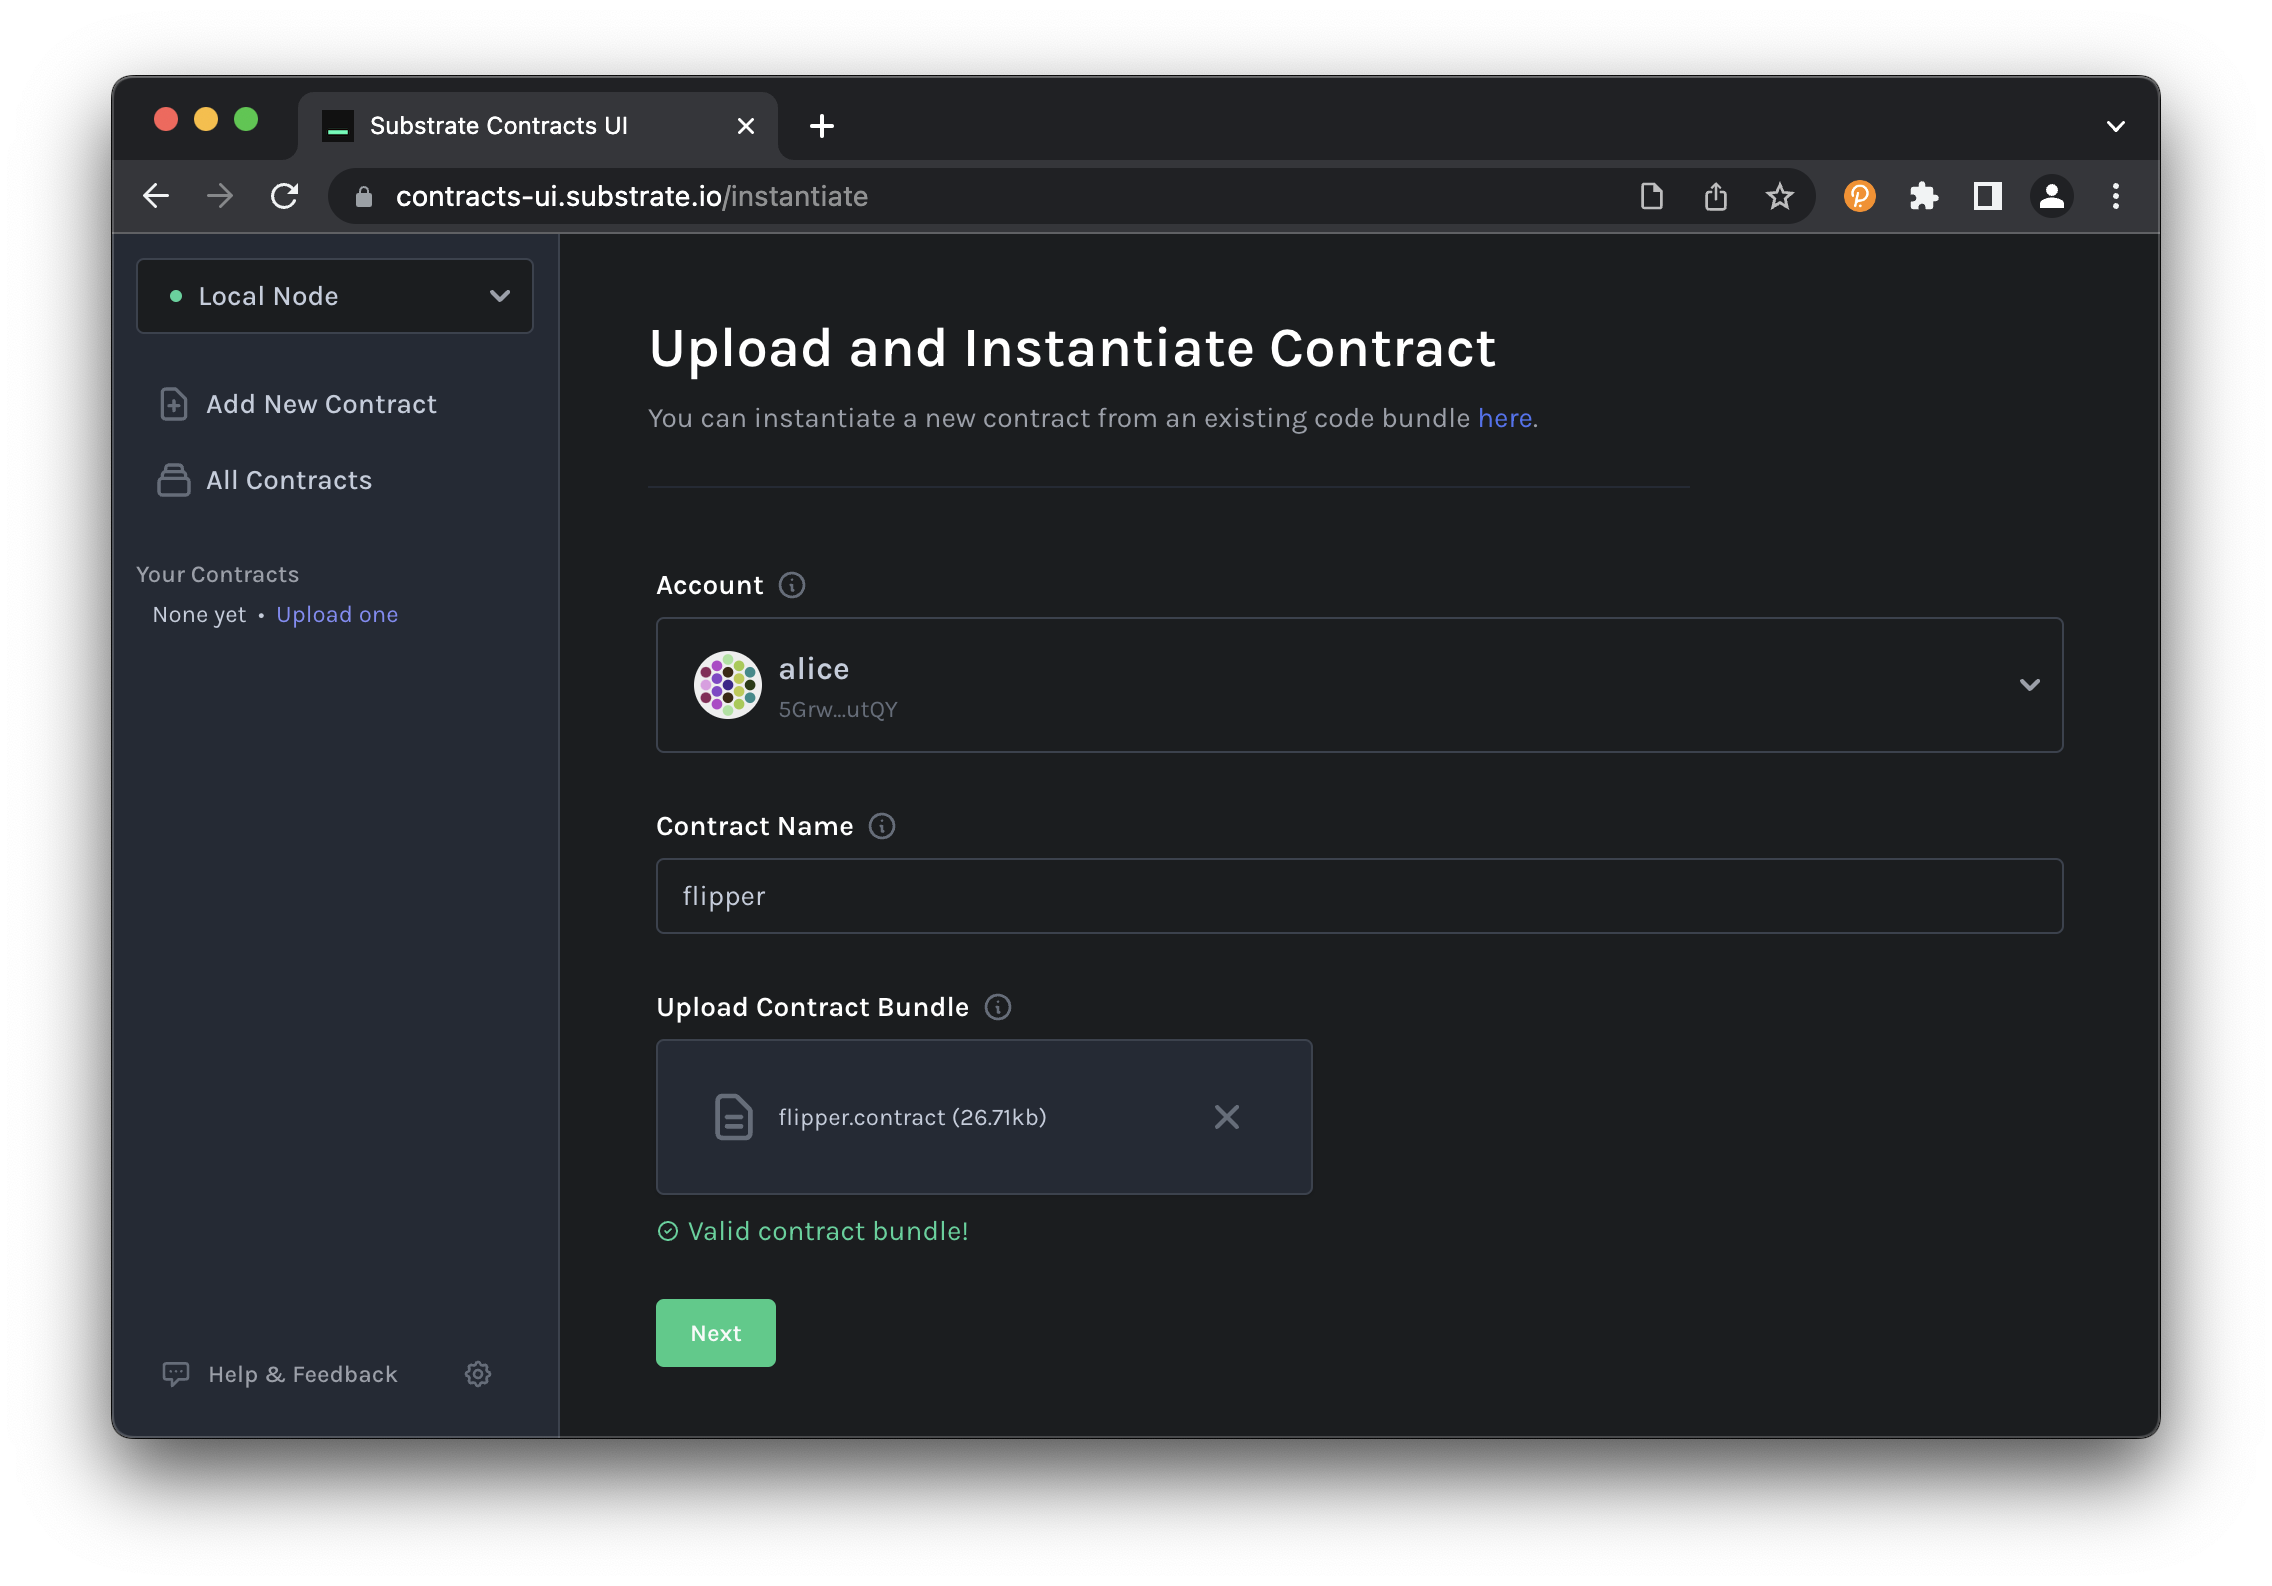
1. Upload Contract Code
Here we will upload the contract code and instantiate one copy of the contract on the blockchain (which is usually why we upload the contract code in the first place):
- Go to https://ui.use.ink/
- Make sure you have ink! v6 selected in the sidebar
- Click the Add New Contract button in the sidebar.
- Click the Upload New Contract Code button in the Add New Contract page.
- Choose an Instantiation account (e.g. ALICE).
- Give the contract a descriptive Name (e.g. Flipper Contract).
- Drag the
flipper.contractfile that contains the bundled binary blob and metadata into the drag & drop area. You will see the UI parse the metadata and enabling the button that takes you to the next step. - Click the Next button
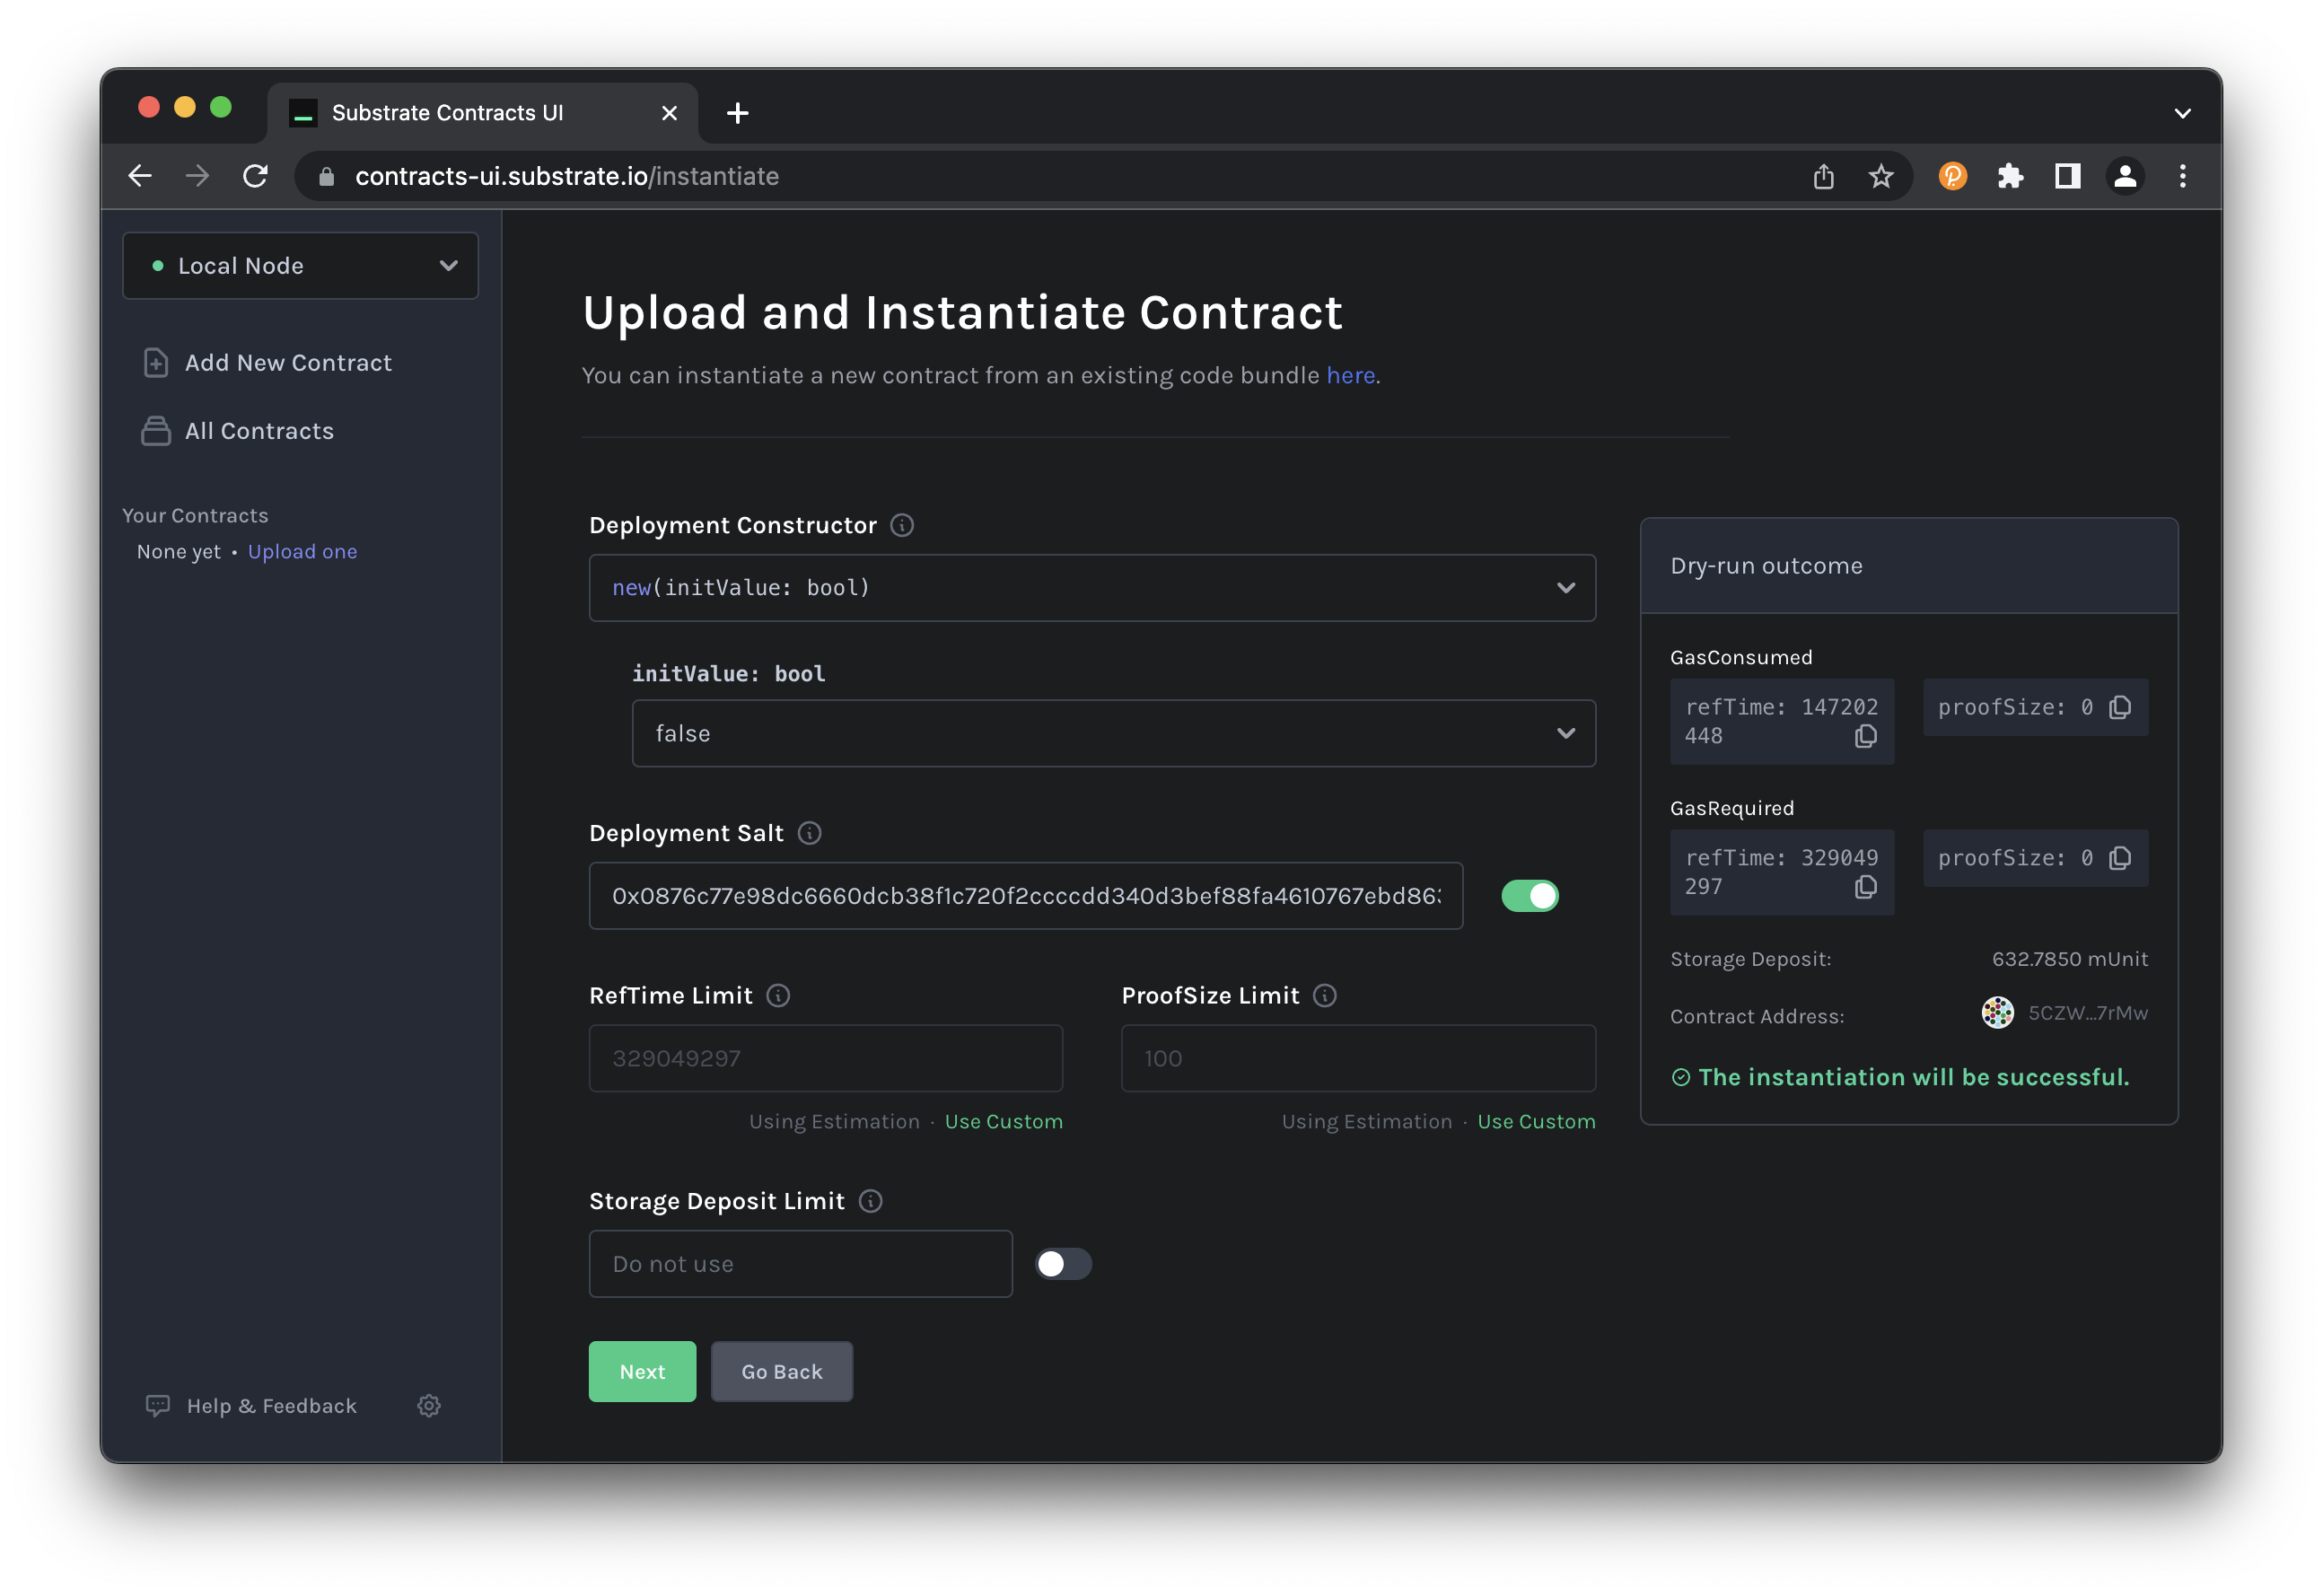
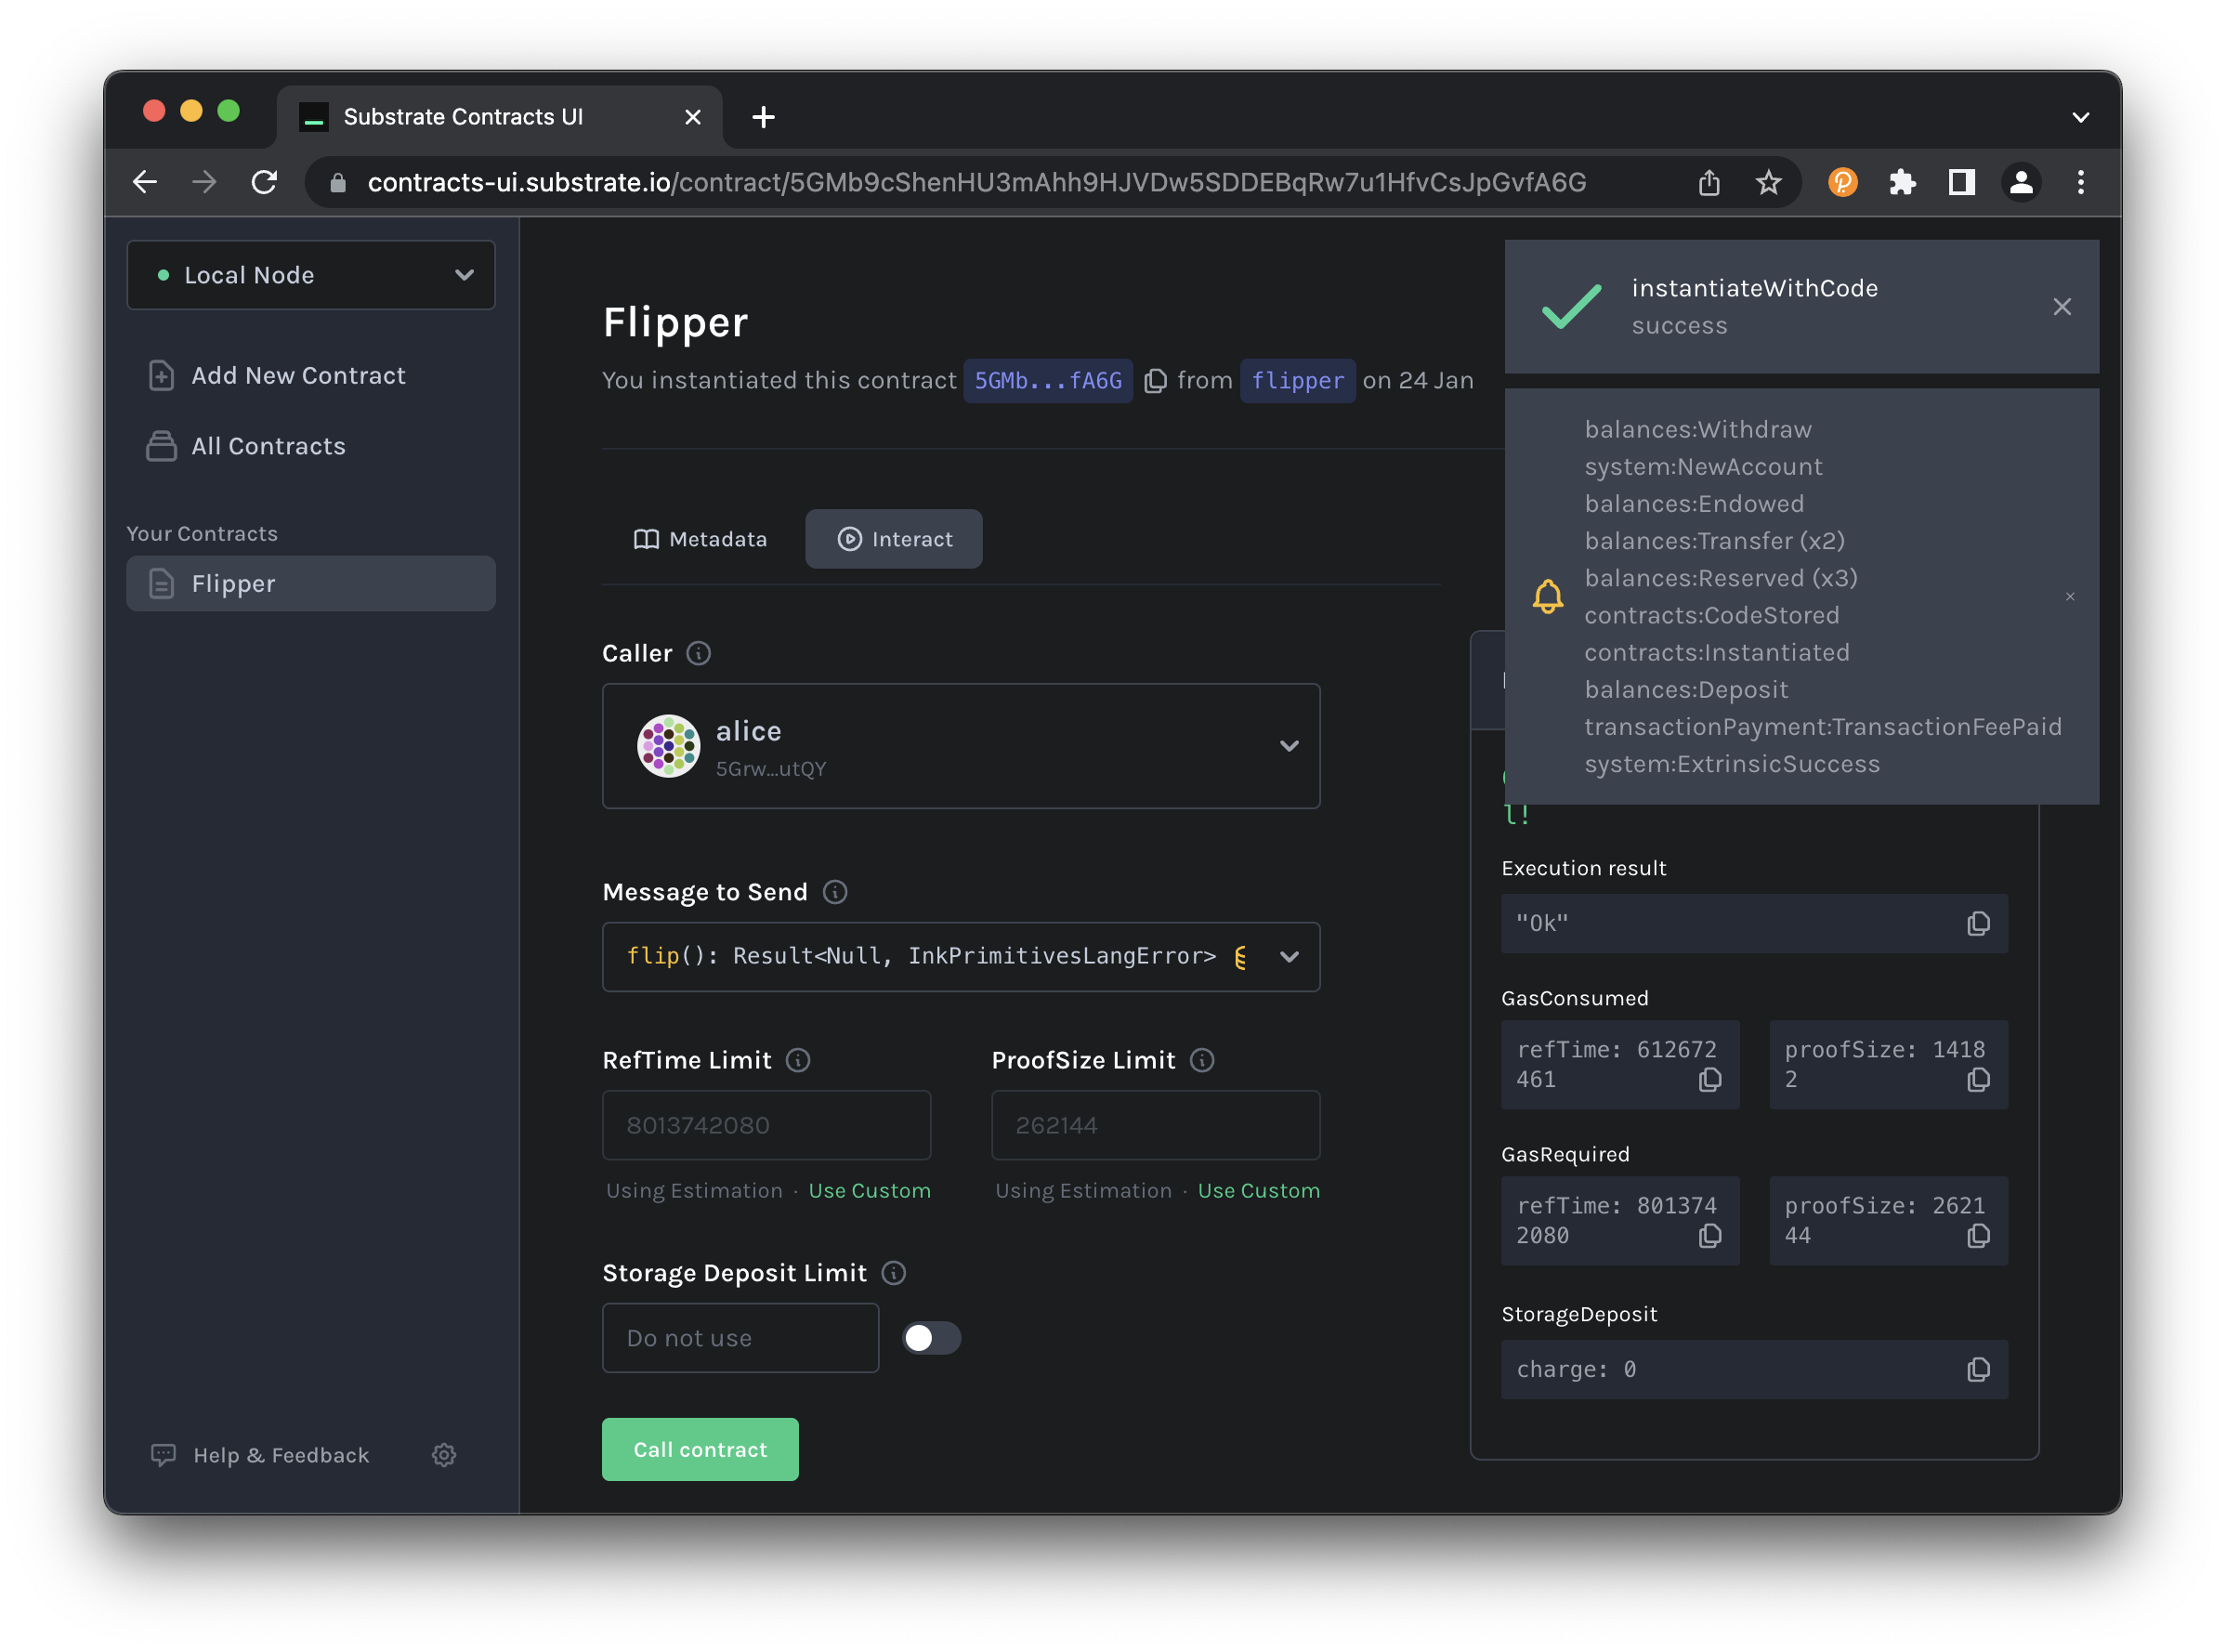
2. Instantiate a Contract on the Blockchain
Smart contracts exist as an extension of the account system on the blockchain. Thus creating an instance of this contract will create a new AccountId (ETH-compatible address) which will store any balance managed by the smart contract and allow us to interact with the contract.
Now a screen displays the information that represents our smart contract. We are going to instantiate a copy of the smart contract:
- Accept the default options for the contract Deployment Constructor.
- Accept the default options Max Gas Allowed of
200000. - Click on
Next
The transaction is now queued, review your data and click Upload and Instantiate or go back and modify your inputs.
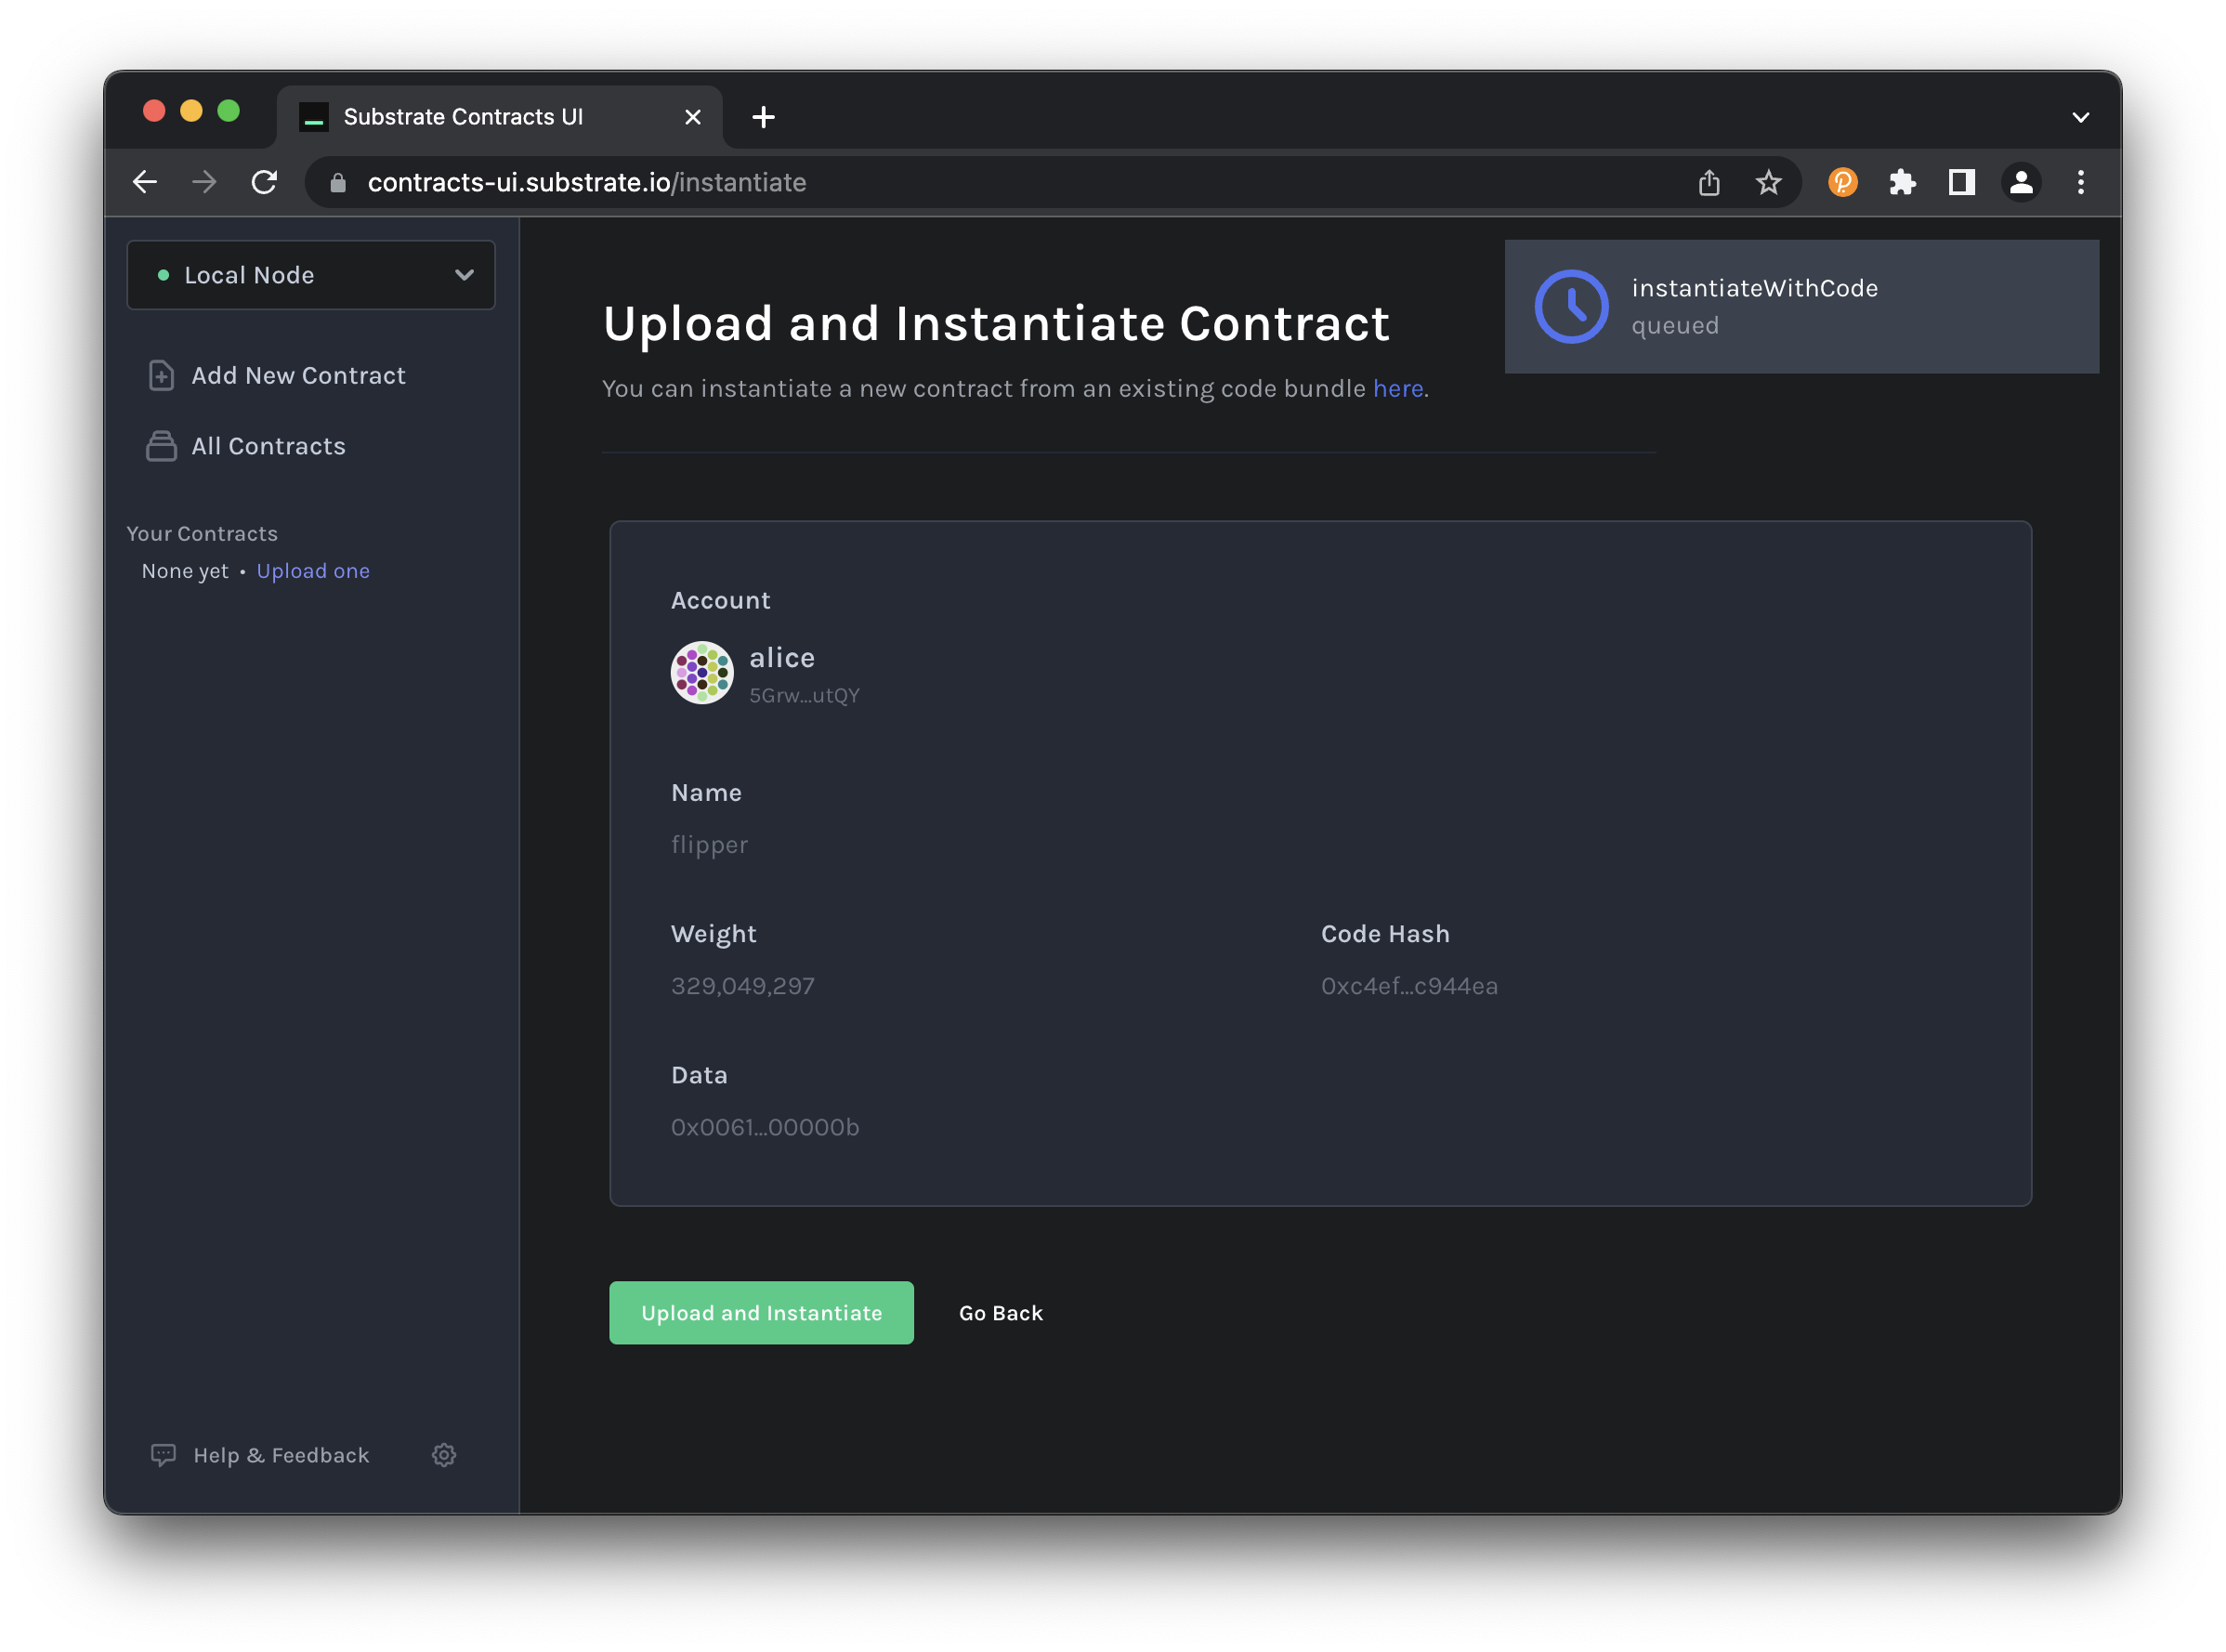
You will be redirected to a new page, where you can interact with the newly created contract instance.
Deploying to Passet Hub Testnet
To deploy your contract to a live testnet, you can use Passet Hub, Polkadot's testnet Asset Hub that supports ink! v6 smart contracts.
Prerequisites:
- Get PAS tokens: Use the Passet Hub Faucet
- Polkadot account: Create one following this guide
- Pop
- cargo-contract
- Contracts UI
Deploy your contract to Passet Hub using Pop CLI:
pop up --url wss://testnet-passet-hub.polkadot.io
Pop CLI will automatically handle the deployment to the testnet. Make sure you have PAS tokens in your account before deploying.
For more deployment options, see the Pop CLI deployment guide.
Connect to Passet Hub and deploy your contract:
cargo contract instantiate \
  --suri "YOUR_SEED_PHRASE" \
  --url wss://testnet-passet-hub.polkadot.io \
  --args true
Replace YOUR_SEED_PHRASE with your actual seed phrase and --args true with your constructor arguments.
Deploy to Passet Hub using the Contracts UI:
- Go to Contracts UI
- Make sure you have ink! v6 selected in the sidebar
- Click the network selector and choose "Passet Hub" (or "Custom Node" and enter
wss://testnet-passet-hub.polkadot.io) - Follow the same upload and instantiate steps as described in the local deployment section above
- Make sure you have PAS tokens in your selected account
You can also interact with your deployed contract using Polkadot.js Apps.